Introduction
Within photography there is two types of light; hard or harsh light, and soft or diffused light.
- Hard light casts deep sharp shadows with well-defined edges, such as the case in high mid-day sun. - Soft light casts softer shadows with edges less defined, such as; the case on an overcast day. That’s because the light is bounced and diffused in different directions and is spilling into the shadows, so the size of the light becomes much larger.
The effective size of the light depends on two factors:
- actual physical size of the light.
- light's position in relation to the subject.
The closer the light is to the subject, the larger the effective size and the softer it is, and the further the light is from the subject, the smaller the effective size and the harder it is. So you can easily change the quality of light by changing the effective size.
Contrast is the difference between the light and shadow areas of your scene. The greater the difference, the more contrast the scene is said to have. The smaller the difference, the less contrast the scene is said to have.
Lighting Equipment
Most lighting equipment falls into one of three different classes:
Grips, Modifiers and Light Sources.
Grips expand to encompass all the stuff we use to support and hold our gear or lighting equipment such as; stands and clamps.
Light modifiers in studio photography attach to (or hold in front of) our flash or light source, to control the light pattern it normally emits, these include
umbrellas, softboxes, and reflectors.
Light sources are any number of things that emit light onto our scene. It could be available light such as the sun or tungsten light, or it could be artificial such as flash units and strobes.
The heat produced by a continuous light can make me and my subject very hot and bothered, but because of the very bright light it will also have the effect of closing down the iris in your model's eyes, which it is generally accepted, doesn't make a good portrait.
Sometimes taking photos in artificial light they can end up with yellow pictures, to your eyes, the light from a tungsten bulb looks white, but it isn't. Colour temperature (the colour of the light) is measured in degrees Kelvin, daylight is around 5,600K and a tungsten bulb is more like 3,200K and therefore records on daylight balanced film as yellow.
This can be overcome in two ways: Firstly, you can use tungsten balanced colour film. Secondly, you can put a filter on your lens, which will enable you to use any daylight film. The big problem with these two solutions is that as the tungsten filament in the bulb burns it leaves a small residue on the inside of the glass envelope. This means that the colour of the light gradually becomes more yellow as the bulb ages. If you are using print film or shooting digitally any colour cast can be rectified when printing, but slides cannot. The third way is simply to shoot in black & white.
Now with flash, it is normal on-camera flashgun there is no way of knowing what the lighting effect will be, except to say that if using it fitted on the camera, it will not turn out very well.
The advantages of studio flash are - modelling lamp, consistency, power and control.
 Modelling Lamp
Studio flash units are fitted with a continuous lamp, that can
be seen on this photograph sitting in the centre of the circular flash
tube, because of its position it gives a very accurate indication of
the angle and quality that the flash will produce when fired. This
makes the lighting easy to set-up.
As this lamp is relatively low powered, it doesn't get the heat or
brightness problem thats talked about with continuous light. The only
thing to remember is that the flash will be a much stronger light, so
the shadows will be darker and the highlights will be lighter. To help, trick the eye/brain built-in compensation device when setting up lighting,
first close one eye (a camera only has one) then squint through the
lashes. This has the effect of increasing the contrast level you can see
and is much more like what the camera will record.
Consistency
The tungsten bulb burnt with flash every time you press the shutter the colour of
the light from the flashtube is balanced to daylight, this means that its possible to use any film you'd like without the need for filters, even with
slide film.
Power
Modern flash units give huge amounts of power, released in a fraction of
a second, as for most home users a unit with a power of 250, 300,
500 or 600 watt/seconds is usually sufficient. Watt/seconds or Joules
(the same thing) is the measure of the power that a flash unit can
produce. Guide numbers, changes by
changing the accessory on the front. A 300 w/s unit is half the power
of a 600 w/s unit, which is exactly 1 f-stop, so if your 600w/s unit was
set up two metres from your subject and you were getting a flashmeter
reading of f/16, then a 300w/s unit in the same place would give a stop
less at f/11.
Control
The most simple and inexpensive studio flash units
have at least a 'full/half power' switch, most will offer much more
control. Remember, that if you turn a flash head down to half
power its reducing the output of the light by exactly 1 f-stop.
Smaller reductions in power with a simple head are obtained by moving
the head further away, or closer for more power. Inverse Square Law basically this means that if you move the light
source twice as far away, it'll lose two f-stops of exposure. (e.g.
Our head is one metre from our subject, using ISO100 film we are
getting an exposure of, say f/16. If we move the head back to two
metres away our exposure will be f/8, - two f-stops less)
Monoblocks vs Power Packs

Monoblock, or Compact Flash Heads as they're normally
called, most of what amateurs and most professionals require.
Compacts have all the electronics built into the head (above right),
whereas a Power Pack will have a separate floor standing unit with all
the electronics in and a separate head, or heads, that are plugged in
to this. The head contains a lamp holder for the modelling lamp, the
flash tube, simple circuitry and normally a fan to keep it cool.
Power Packs are
generally used when a huge amount of power is required (up to 6000w/s)
and when the units are going to be used at high speed over long periods (e.g. for fashion photography, which I'm doing). The parts that
generate the most heat are housed in the head away from the electronics
in the pack, which is also fan cooled, with the new generation
Compacts, such as; the Elinchrom Style unit above, many of the advantages
of the pack have been removed.
The Standard 3-Light Setup
A 3-light setup consists of: a key light, a fill light, and a separation light.
Key light is the main light that has the most significance in your
scene. It creates the defining highlight and shadow areas of the shot,
and is the light that all the others are based upon.
If the key light was the only source of illumination, the subject
would have a well-defined side, with the back and other side appearing
fairly dark. This could result in dramatic high-contrast effect if done
creatively, as shown in the images below.
Photo by Wayne - Amethyst Photography
The fill light is a secondary source of light that is used in
conjunction with the key light to open up the shadows at the other side
of the subject, and cut down on scene contrast.
Separation light - or hair light - is the third source of light, and
is used if you have a dark subject against a dark background. So it would come in handy for separating the subject from
the background, providing a good outline from behind and pulling it out
from the background.
So ideally having a main light source to one side of the
model set up on a stand, with a soft box or an umbrella on strobe
for softer, defused light. To the other side of the model could either have a fill light or a bounce card, to fill in the shadows on
that side of the model (also set up on a stand). The fill light or
reflector would be set a little bit lower than the key light, and it
could also be placed further away from the model than the key light.
Finally have a separation light placed behind your
model from above to separate them from the background, could
place a backdrop of choice behind the model if the natural
background is not very flattering (or too cluttered).

Note: if you remove the separation light from the diagram above, it'll end up with a basic two-light setup. This is useful when the
subject doesn’t need separation from the background (due to a different
backdrop or background tone), or to purposefully blend the subject into
the background for creative effect.
If the place has no bright walls, it's possible in using
anything that can act as a bounce surface:
a reflector, white
cardboard, a light table cloth, or even someone wearing a white shirt.
All those can be used as a bounce surface. Just face the light
toward whatever it is that's available to act as the bounce surface,
and place the model to the side of that surface!
What's a Flag? A flag is anything that is used to block light in a controlled way,
preventing it from spilling onto your model. It could also be used to
prevent light from flaring into the camera lens.
Surround Bounce
This technique is by setting up the flash unit in a way
that would illuminate a large bounce area of a medium-sized room, by
taking advantage of walls and ceiling to scatter and diffuse light as found appropriately. Using surround bounce gives the photos a natural-like light that is
typically available with no artificial lighting involvement.
Floor Shots
Floor shots are just like any other wall bounce shots, only flipping
everything 90 degrees towards the ceiling as it acts as a softbox. The model would be lying on the floor, with the light source pointing
towards the ceiling and bouncing back to illuminate the subject and
the surrounding environment in general. Also substitute the ceiling with an umbrella, with the
flash facing away from the subject. The light would bounce off the
umbrella and onto the subject, easily illuminating them while creating the masterpiece.
Here are a couple of examples:
Making Use of Ambient Light
Ambient light can also be used for lighting in an indoor photo shoot,
either with or without a flash. It could be used as a rim light from
behind, pulling the subject away from the background while it lights
up their face with an on camera flash.
Ambient light could also be used alone to take care of lighting. Making use of any light bulbs, table lamps and so on. For
ambient-only lighting in a fairly dark environment could placing two
table lamps (taking the shades off) opposite to each other work with the
model in between.
Placing one of them closer to the subject than the other, to
act as a main light while the opposite light source acts as a fill
light, plus this technique can take the readings in
real-time as the light falls on the subject.
Making Use of Window Light
Windows are a great light source for indoor photography, especially if they're large or emitting great amounts of light, placing the subject against a window and shoot them from
the front (with or without an on camera flash). Of course if using
a flash, it would be the key light and the window light would be the
softbox. Could also expose the subject without regard for the
window light, to get a high key result.
Alternatively, using the window light as key light by turning the model to the side, having half their face lit by the window while
the other side fairly lit by available room light for dramatic creative
results. Or use fill light by placing the subject in
the same manner, and having a main light source positioned to the other
side to act as the key light.
To Concluded
Studio lighting can be broken down into two categories, continuous and flash. While continuous lighting has two main advantages there are many disadvantages.
The good points of continuous light:
- It's inexpensive, and makes a good starting point for anyone on a small budget.
- You can see what the light is doing and where the shadows and highlights are.
The main disadvantages of continuous light:
- It generally produces more heat than light, very uncomfortable!
- The light that it produces is not balanced to daylight.
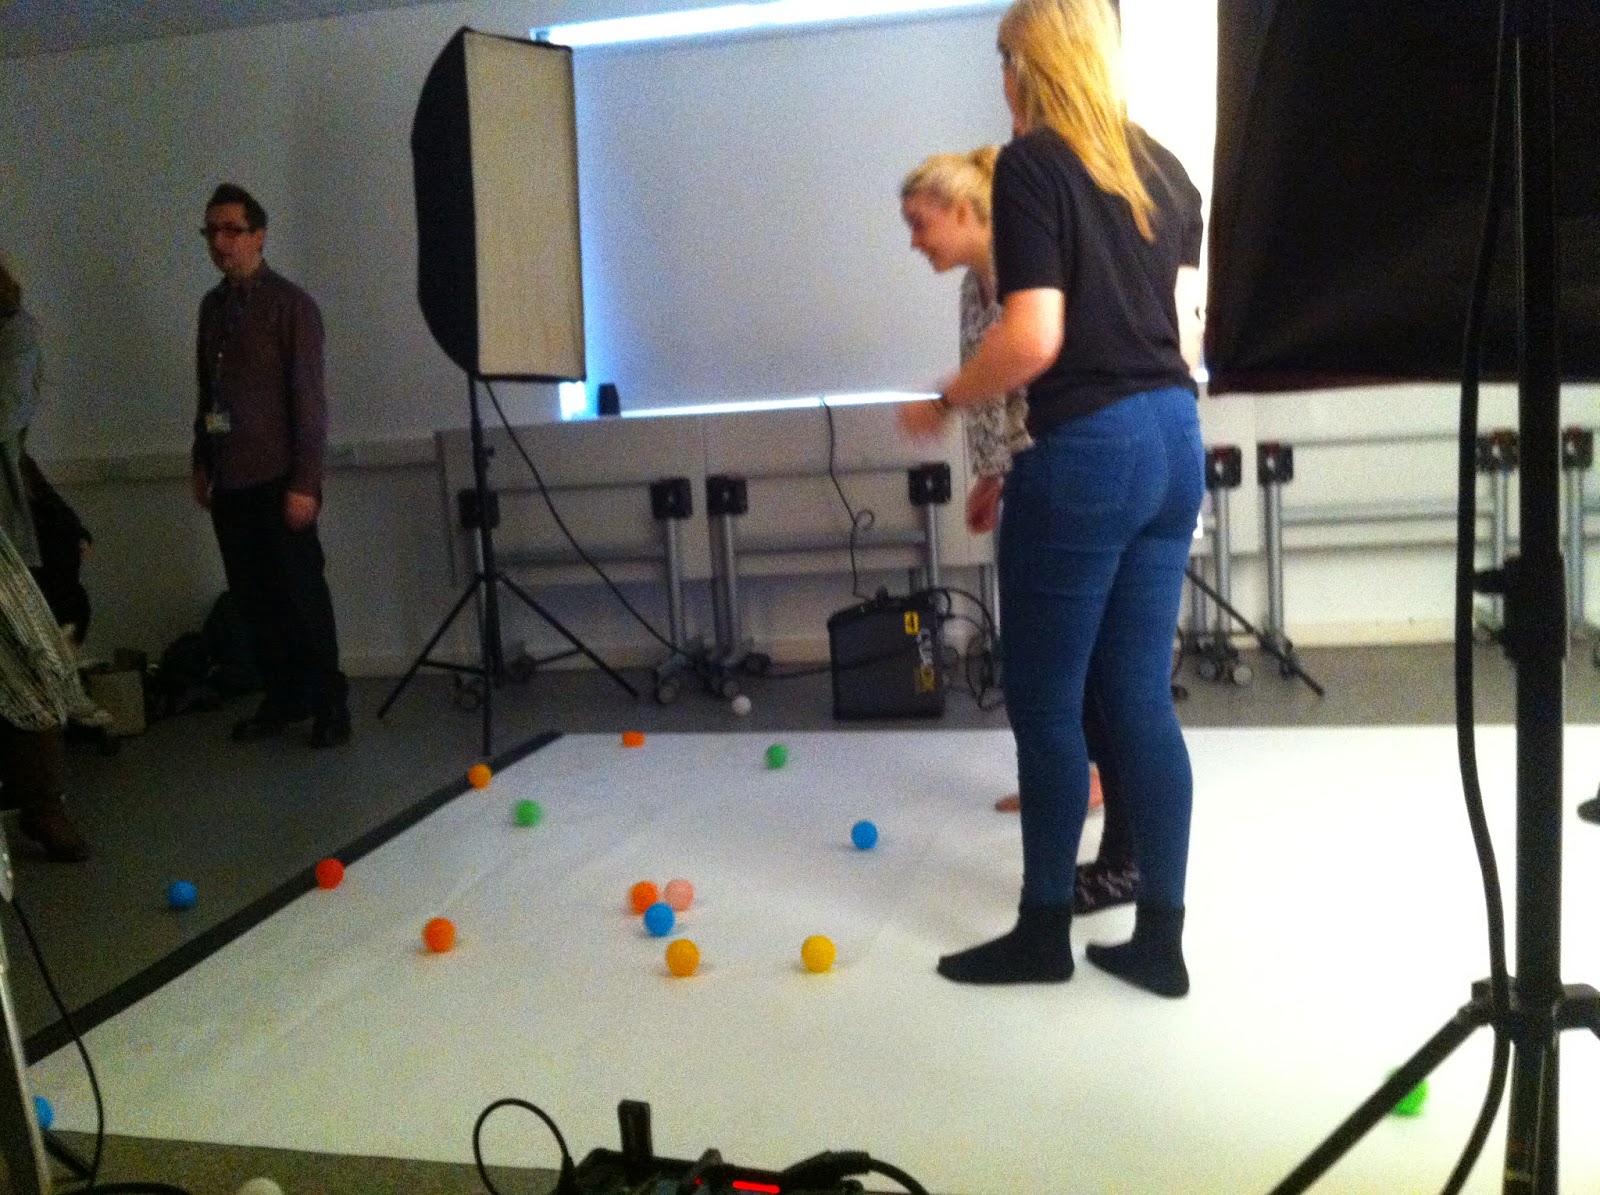
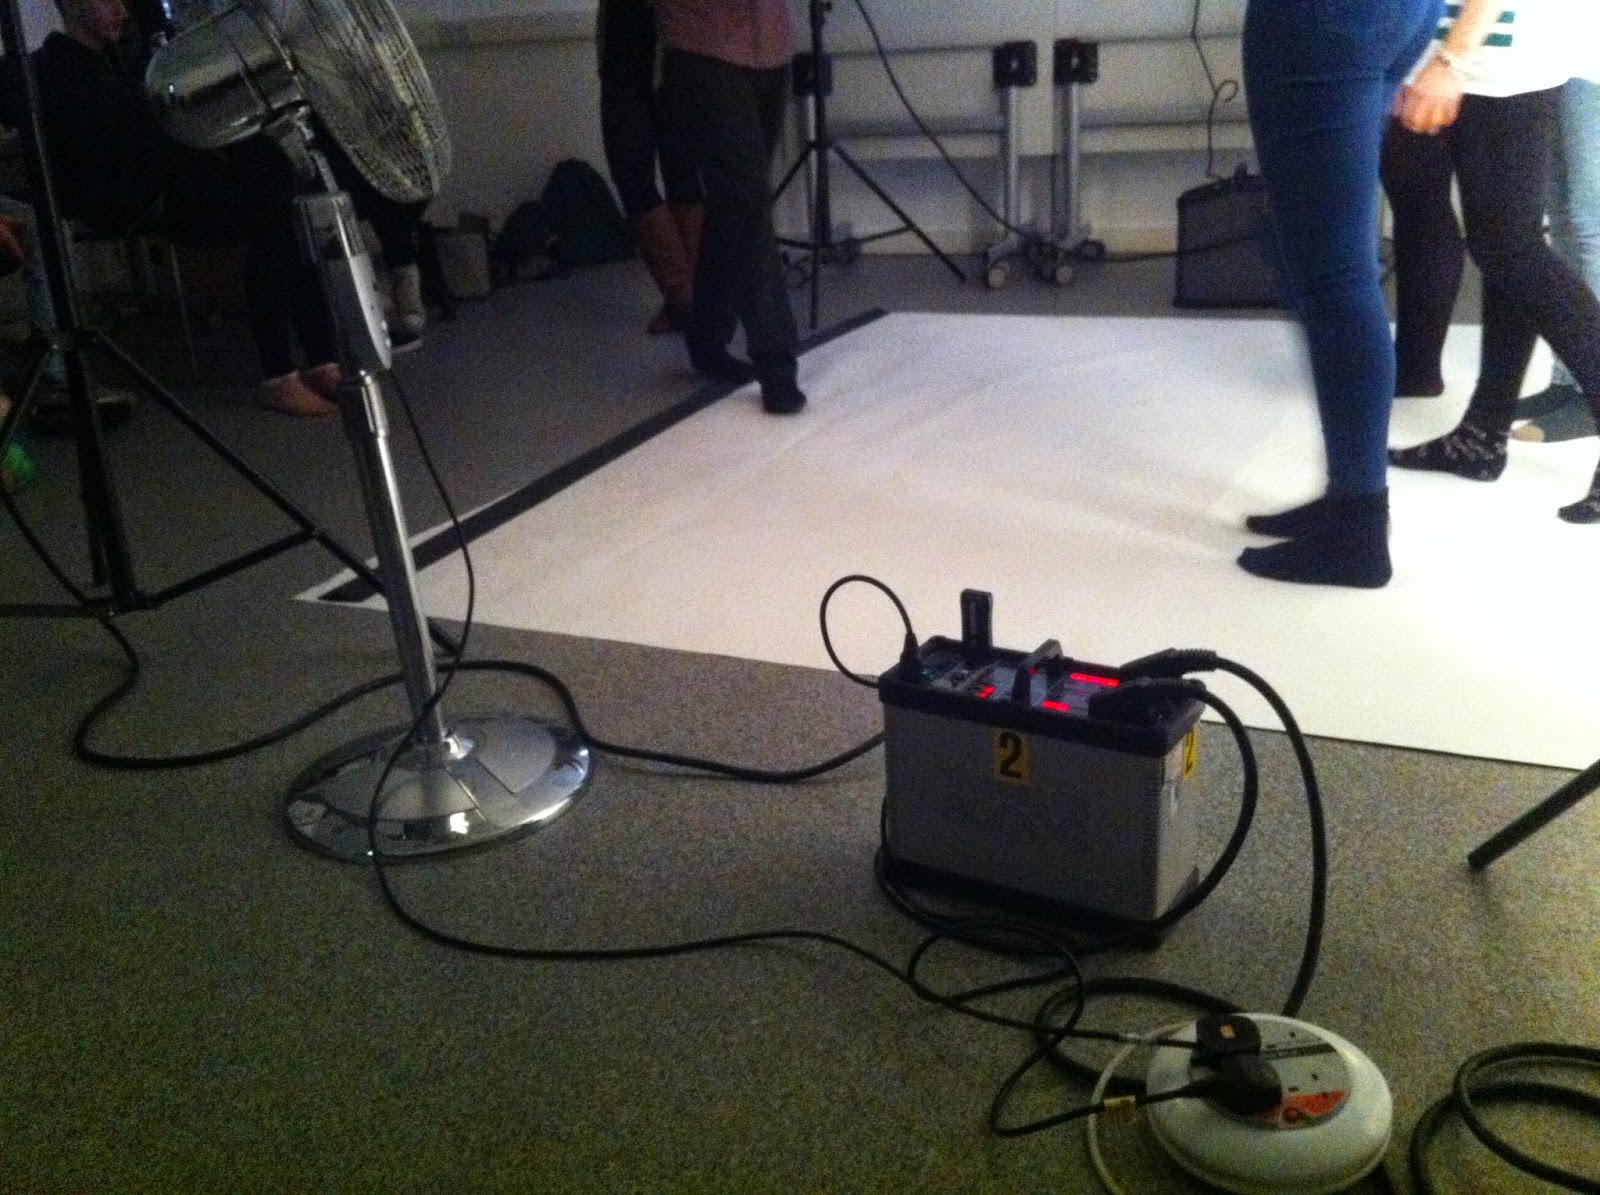
Test Shots (not edited)


